I talk to myself a lot.
This is one conversation I had for years:
Optimistic Me: “Bryan, you should start a blog.”
Pessimistic Me: “I know, but…”
Optimistic Me: “No BUTS. Just do it.”
Pessimistic Me: “But what if no one reads it?”
That conversation went on for 5 years before I finally started this site.
If only…
If only I’d started then, I’d be light-years ahead of where I am now. Instead of 80,000 email subscribers, we could have over 500,000. Instead of 200,000 monthly readers, we could have well over 1,000,000. Instead of… well, you get the point.
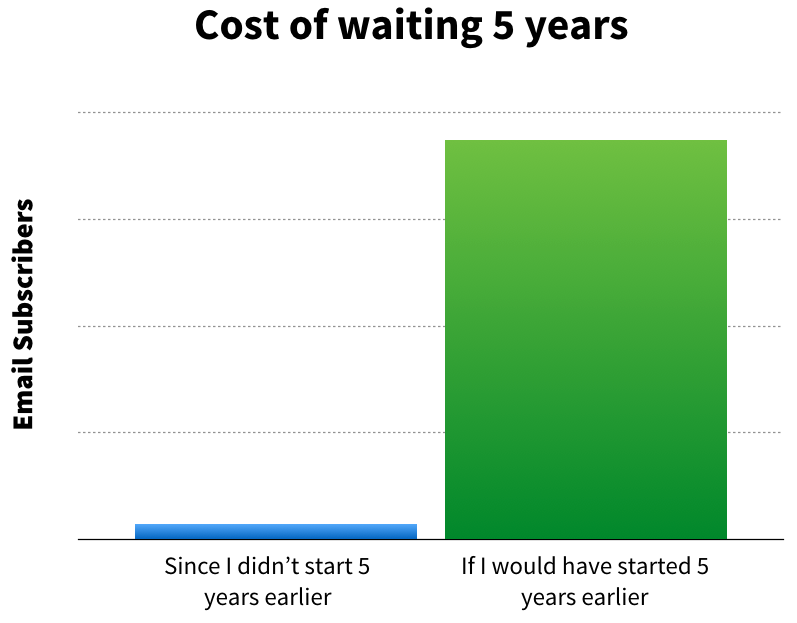
Turns out I’m not alone.
This is something that you and pretty much anyone who ever creates anything struggles with too.
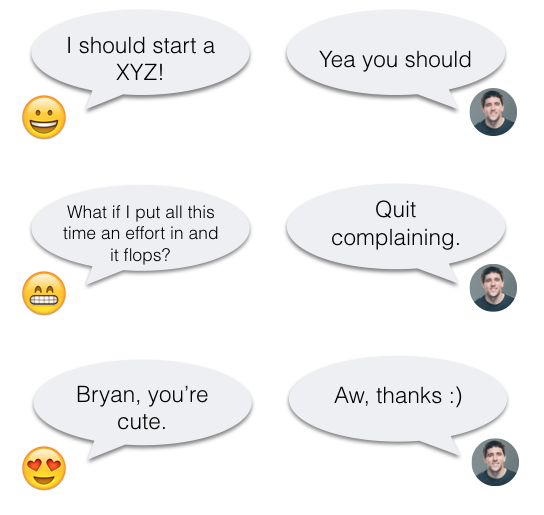
Today I’m going to show you exactly how to fix this.
You’re going to learn how to guarantee that 120 people read your first blog post.
No more writing and hoping random people from the internet find you. No more procrastinating because you’re not sure if people will see what you create. I’m going to give you a plan and a nifty outreach strategy that works like a dream nearly every time.
If you’re just getting started, this is for you.
If you’ve been around a bit longer, well, go roll in your piles of traffic and email subscribers and shut up. ?
This strategy has worked for me on multiple blogs and in 3 different industries and is grounded in a principle that goes back 100 years.
Ready?
The Short Version
People want to know more about what they are interested in.
Find people who are interested in what you are talking about, and tell them about you.
This is exactly what door-to-door salesman have done for 100 years.
Example: If you own a house, you probably have carpet. If you have carpet, you need to clean your carpet. Thus, for 100 years Kirby has been going door-to-door selling vacuums to people.

How do you do this for your blog?
How to guarantee at least 120 people read your first blog post
Step #1: Write your article.
If you suck at writing or if it’s a struggle, read this.
It’ll teach you how to write if you suck at writing.
CliffsNotes version:
1. Look at your most popular social media updates (or those of your competitors).
2. Turn one of those posts into a question that you can answer. (Check out the link above for examples of this.)
3. Then turn on your voice recorder app on and record yourself answering the question.
4. Transcribe that answer and pretty it up into your first blog post.
I wanted to test this workflow on someone else a while back so, I enlisted Videofruit intern AJ and asked him to “answer a question” about a recent project he completed.
Instead of asking him to write about it, I flipped on my webcam and started recording.
Here is the raw footage:
Then he transcribed the video and cleaned it up. (See the transcription.)
Next, he read this book and went through a short copywriting course.
He was able to go through the transcription and rearrange it into a blog-post-friendly format.
Then he brainstormed 5 headlines:
- These 4 Easy Steps Will Have Your Logo Set in No Time
- How Logos Should Actually Be Created
- What Should Your Design Process Be?
- Creating What YOU Want: Cheap and Simple
- Steps Non-Creative People Take to Create a Design
He spent a total of 2 hours writing (and 3 hours on learning about copywriting).
This is the first draft: How to create a logo if you suck at design.
Not bad for the first time ever writing a blog post.
Step #2: Find similar articles.
Now your article is written.
YAY!
This is where most people hit publish, anxiously wait around for people to find the article and then get discouraged when no one does.
Just to clarify something real quick:
Your fancy new blog currently looks like this:
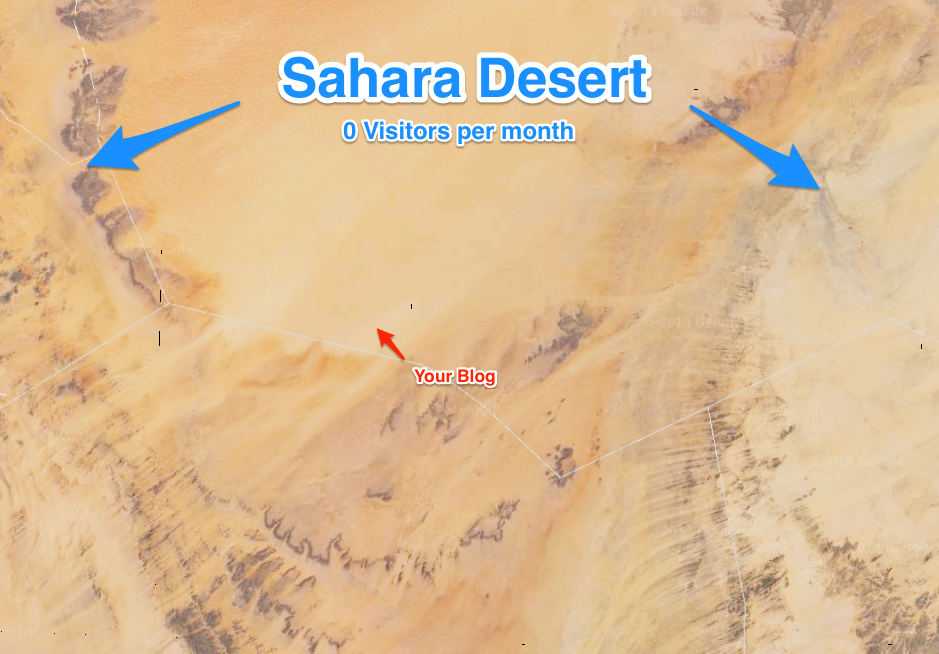
So, left to its own devices, no one will be stopping by to hang out any time soon. Once you hit publish, your work is just starting.
It’s time to take that article to the people.
To do that we’re going to find other articles that have been written about your topic, make a list of the people who have shared those articles and tell them about yours in hopes they’ll share it too.
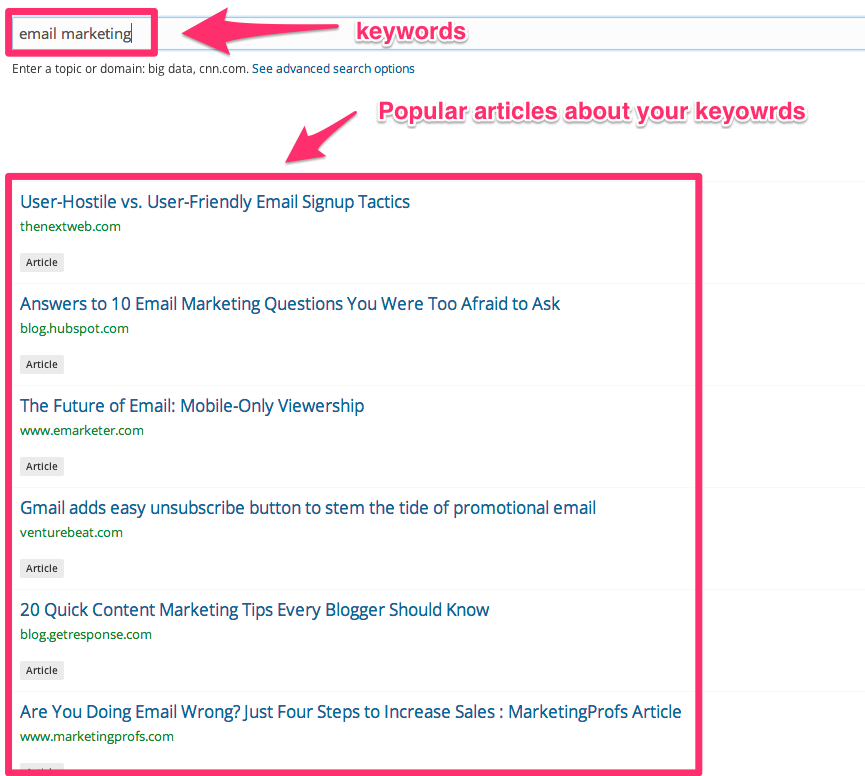
First, write a list of 5 keywords and phrases that describe your post.
Example: This article you are reading is about growing your blog via “targeted outbound email marketing.” Here are a few keywords I drummed up:
- email marketing
- inbound marketing
- how to start a blog
- how to get traffic to my blog
- outbound marketing
Now head over to BuzzSumo (use the free trial) to perform a search for the keywords you brainstormed. This will produce a list of the most popular and shared articles with those keywords.
Step #3: Make a list of people who shared it.
You’ve written an article and have found similar articles written by other people. Next you need to let everyone who shared the other articles know about yours.
To do that, use a two-step process.
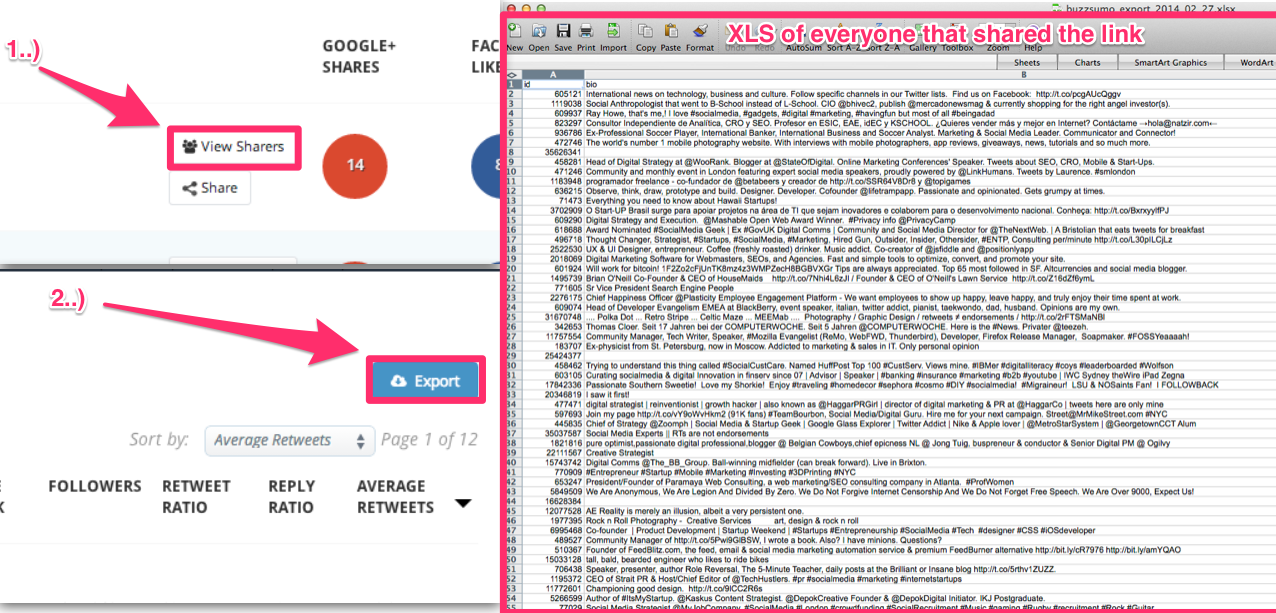
Step 1: Make a list of everyone who shared this article on Twitter.
BuzzSumo makes this part easy. Just click on “View Shares” and export the list into an XLS.
Step 2: Find the email address for each person.
Finding someone’s email address usually isn’t too hard. Here are a few ways to do that:
- Check their Twitter bio.
- Use Full Contact and guess popular email syntaxes.
- Here are three more in-depth articles that will give you more advanced techniques: Article 1, Article 2 and Article 3.
I usually hire someone to do this part for me. It costs between $0.10 and $0.30 per email, depending on how good you are at the hiring process.
**I’ve included the exact scripts and process I use for hiring folks to help me do this at the bottom of this article.
Step #4: Tell them about your article.
Now all that is left is to email each person on the list you put together in step #3.
You can either outsource this or do it yourself.
If you chose to do this yourself, it will take time. It’s tedious work, so suck it up and do it. Don’t try to automate it. If you do, your email account will either be banned or you will be blacklisted and your emails will be auto spam filtered. Neither of those are good.
Here is the template I use:
Hi [NAME],
My name is Bryan.
I follow you on Twitter and noticed that you [ACTION] one of my favorite articles [ARTICLETITLE.]
That is such a great post.
I was hearing from my readers that they wanted something more in-depth about the topic so I went ahead and created this post: [URLOFDESTINATION]
If you have time I’d love for you to check it out.
Thanks!
Bryan Harris
Here are a few more tips:
Tip #1: Send every email individually. I have a base template I use for each email; however, each email is customized for that individual.
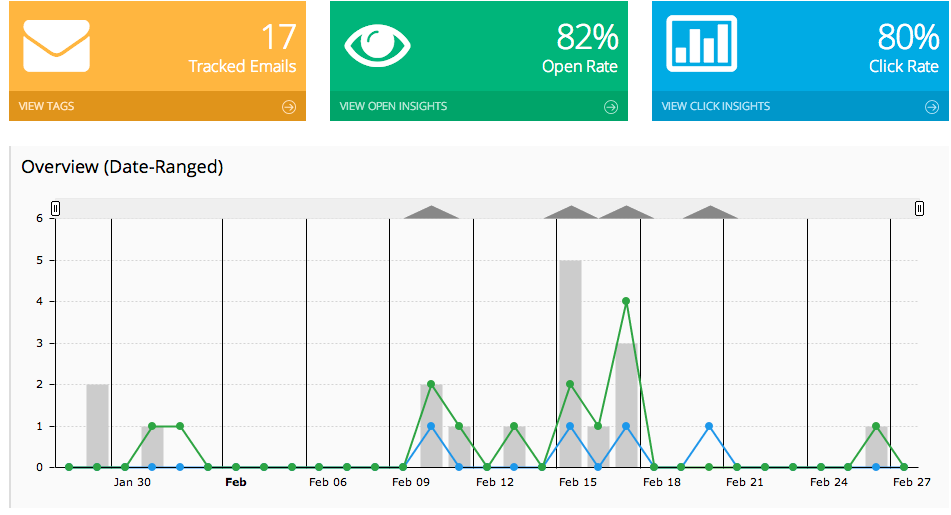
Tip #2: Track your emails. I use Bananatag to track each email I send. This allows you to determine your ROI at the end of each campaign.

Tip #3: Track your other data as well:
- How many emails I sent
- How many were opened
- Inbound referral traffic (via Google Analytics)
A few things NOT to do:
* Do NOT CC or BCC your entire list.
* Do NOT send everyone the exact same email.
* Do NOT use MailChimp or AWeber to send the emails.
What can the results of using this strategy look like?
I have used this formula more than 30 times over the past 3 years. You can usually expect 2-5% of the people you email to share your content. I have seen traffic surges of 200-1,000 page views from sending out 100 emails.
Your results will obviously depend on the quality of your emails, the relevance of the people you are emailing and the quality of your content.
However, if you contact 200+ people who care about what you are writing about, your traffic will increase and your first 120 visitors will be in the bag.
Here is a tweet I received from a recent “Vacuum” formula campaign for this article:
Bonus Section
I don’t know about you, but I can’t stand tedious research work like hunting down email addresses and sending 200+ emails by hand. Some people love that stuff and geek out over it. I’m just not one of those.
However, the results that it brings are huge and unmatched by any other traffic tactic I’ve tried in the early stages of a site. So, after some tweaking, I’ve managed to outsource 90% of this annoying work to a few good people who really like to get their hands dirty in hardcore research and data compiling.
I’ve put together the exact scripts and hiring process I used to automate this.
You can download them by clicking here.PS: Share in the comment section below what piece of content you’ll be using this technique on first (share the link)
