Happy Friday!
As you are reading this I am in the air flying to Costa Rica for 10 days of…nothing.
Me + Wife @ Beach = Happy Time!
However, I’m not leaving you cold turkey. I’ve written 3 pretty snazzy DIY marketing hacks for you to munch on over the next week.
They’ll be hitting your inbox Today, next Tuesday and next Friday.
I plan on checking email and this blog exactly ZERO times while I’m gone. So, if I don’t respond to your email or comment – don’t take it personally.
In fact I’m taking a page out of Michael Hyatt’s book and setting this as my Gmail autoresponder.
In short, if you need me holler at me on September 1st..
Onward!
***
On Tuesday, Alex Foo asked “What plugin do you use to have your 2 right side widgets scroll down the page with user?”
Alex is referring to these…
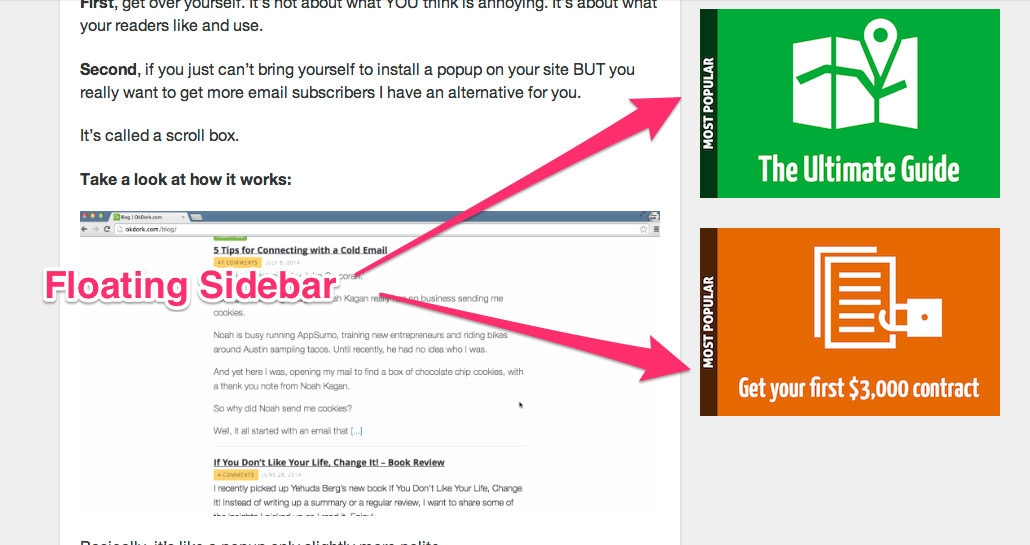
If you’ve spent much time on this blog, you’ve probably noticed these before. If not, look to your right…see them now :).
This is called a floating sidebar widget.
I originally installed them back in March of this year after I noticed how much dead space was present on my longer posts. A regular ole’ 500 word blog post doesn’t have this issue. But, when you write a massive 3,500 word guide it’s very noticeable.
So, I set out to find a fix.
That’s when I noticed Baeldung.com‘s snazzy floating sidebar.
Instead of having a ton of dead space, his subscribe box floated along as I scrolled down the page.
I loved his implementation so I ‘borrowed’ it.
This is what my first version looked like.

The floating sidebar increased my email opt-ins from 0.3% to 0.8%.
A massive jump.
For every 10,000 people that saw it 80 opted in. With the old setup only 30 people opted in.
Then I started tinkering around to see if I could up that percentage even more. Instead of having the form directly visible, I created a image that lead to a landing page. Then I asked for an email address on that page.
This is what the variation looked like.
This version increased the conversion rate from 0.8% to 1.2%.
Now, for every 10,000 people that see it 12 opt in.
Recap: Originally 30 people at of 10,000 opted in to my email list via the sidebar. With a floating sidebar widget 120 people now opt in.
Want to set one up yourself?
How to setup a floating sidebar widget
Creating a floating sidebar is fairly straight forward if you use WordPress. There are 3 main steps.
I’ll walk you through each.
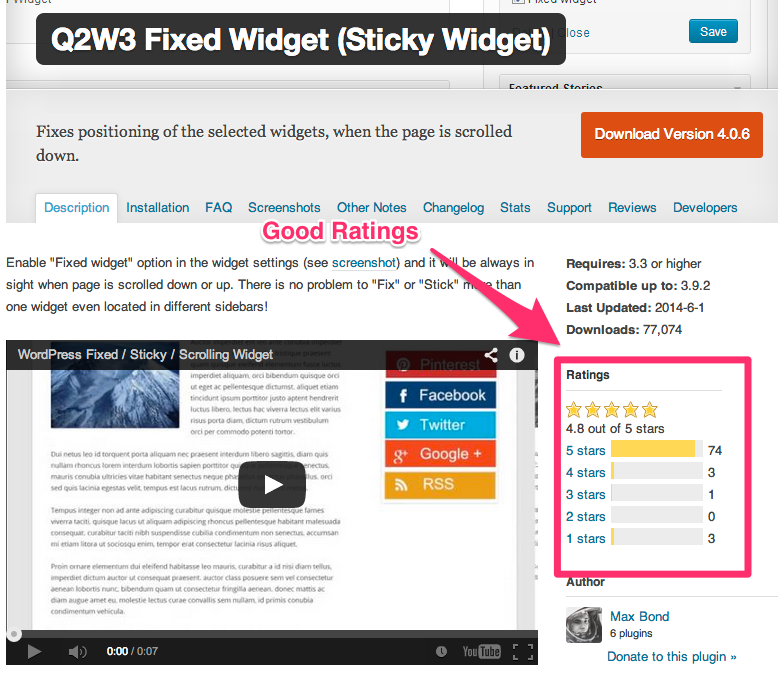
Step 1: Download and Install the “Sticky Widget” Plugin
Fortunately for us there is a free WordPress plugin that makes this super simple.
It’s called Q2W3 Sticky Widget. Download and install it.
(Note: This isn’t my plugin. I didn’t make it. However, I’ve used it for the past 5 months without any issues. It has stellar reviews so you should be safe. Use good practices though and always backup your site before installing any new plugins.)
Step 2: Design your Sidebar Image
The next step is to design the image that you will use in your sidebar.
For this I use Keynote.
I made a quick video tutorial showing you my exact process.
Source: The Spike Formula: How to build a high converting opt-in
Step 3: Setup the Widget in WordPress
Now you just need to plug everything up.
First, log into WordPress.
Then click on Appearance > Widgets
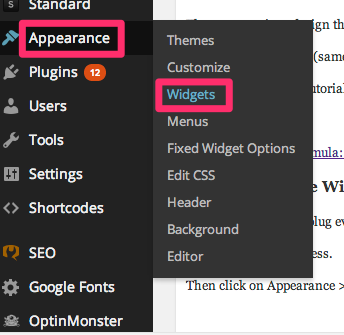
Now add a new “Text” sidebar widget by dragging a “Text” form from the Available Widget section to the Sidebar section.

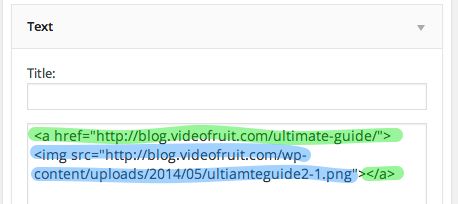
Next, open the new Text widget by clicking it then insert the following piece of code.
<img src=” LINK TO YOUR IMAGE “>
This will insert the image we created in Step 2 into this section.
Lastly, you need to link the image to the landing page you are sending the traffic to.
To do this add the following code around the <img src…> code you just inserted.
<a href=” LINK TO THE LANDING PAGE “> <img src…> </a>
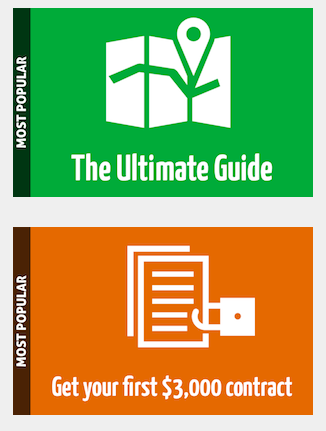
The final product should look like this…
Templates and Source Code to Help You
That got a little technical but if you follow those 3 steps closely and engineer your opt in call to action around the principles I taught in the Spike Formula you’ll be golden.
To help you out, I put together a 2 resources for you:
1. Keynote template of my sidebar opt in design. You can use this as a starting point to create and design your own.
2. Source code for the original form opt in box. You can copy and paste this source code to collect email addresses without building a landing page.
Hope this helps!
You can grab both bonuses here.